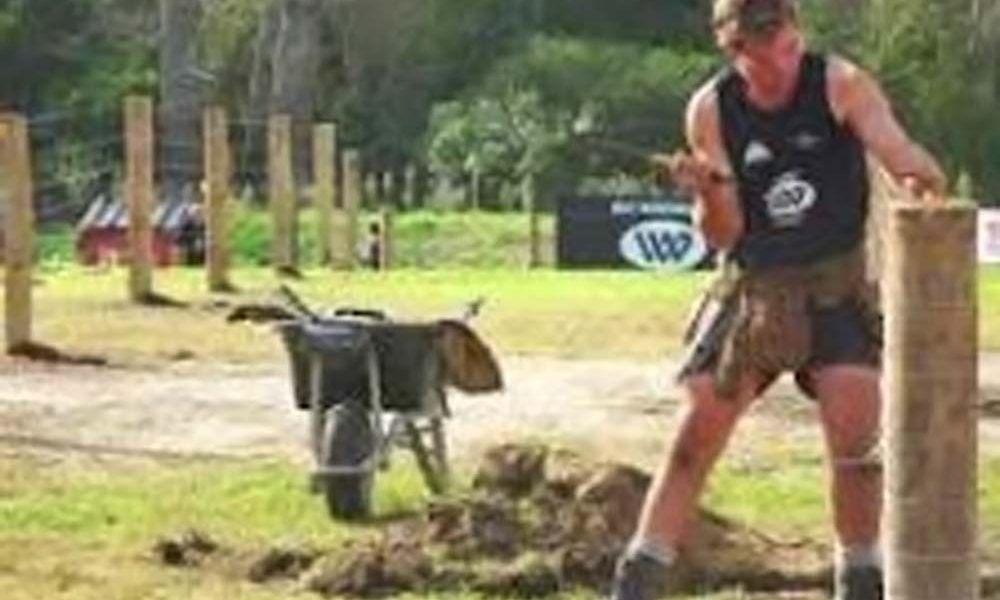
In our third instalment of our focus on retaining walls, Nick Liefting takes us through the complexities of Cantilever walls.
This type of wall, in simple terms, is one that has a bending moment at ground level, and is commonly a piled wall. Piles can be:
- Timber Pole, round or square
- Steel I beams or U beams
- Cast-in-situ concrete
- Precast concrete
This is the quickest wall to construct and is generally the most cost effective, however, to qualify for a cantilever wall, it must have firm ground to drill into, to the required depth for the respective wall heights.
Timber Pole
The most common are round poles, which come as a SED or Unilog. The SED has a small end diameter which is placed above ground. The Unilog is a pole spun to a uniform diameter over the pole’s length. A Unilog has the added advantage of not having to look for a straight face to place against for the railing and they look very smart in the completed job.
Square posts are used, however, the ‘off the shelf square posts’ are limited to the retained height.
125 x 125 posts are readily available as they are classed as house piles complete with H5 treatment and are good to retain up to 900mm height at 1.20m pole spacing.
100 x 100 posts are also readily available as they are generally used for fence posts. The issue here is they are fence posts and have a H4 treatment which is certainly okay for a fence post, but a retaining wall? – I’ll let you be the judge on that one. We have replaced many paling fences where the posts have rotted at ground level generally after 25 to 30 years. A fence is easy to replace, but a retaining wall is a much bigger task and yes, we have done that also.
What is common is low retaining wall posts being incorporated as the fence posts above, and a shorter post placed halfway between each fence/retaining post, and yes, I have also been guilty of this work.
To have a H4 post treated to H5 costs approximately 25% more and of course waiting in the dreaded queue is what we all do not like.
A 100 x 100 post is only good to retain a maximum of 600mm at 1.20m spacing. It is always good practice to check the posts re knots or defects. The added advantage of square posts is that the joining of rails is not highly important to be completely butted up. With the installation of square posts, extra care needs to be taken to avoid any twist however, if a post is already slightly warped with twist, I tend to have it in line at halfway up the post.
Marking out for a wall if it is on a boundary
It is important to establish where the boundary line is to be in relation to the proposed wall and then marked out accordingly, bearing in mind width of pole, plus railing and lean back. Once this is established and pole centres are marked, it is recommended to set up a profile each end of the proposed hole line to the required lean back.
It is important to carry out the drilling as accurately as practical, as it makes the pole placement so much easier, which in turn makes the railing easier obviously with a straight line of poles. To achieve this, we have a guider on the ground sighting between profiles and the digger operator can eyeball plumb when parked at 90° to the proposed wall line.
The recommended size of hole is a minimum of 75mm of concrete cover around the pole. I like to work on 100mm concrete cover as it can make lining up poles easier particularly if we have bent and long poles.
Drilling and placing poles
Most retaining walls have an intended lean back, which is generally shown on the plans and can be any of the following:
- 1:20 = 50mm over 1.00m
- 1:10 = 100mm over 1.00m
- 3° = 50mm over 1.00m
- 6° = 100mm over 1.00m
Pole placement
The end poles and change of direction poles are the only ones that need to be securely braced both ways. A top and bottom string line is attached and line poles proceeded to be placed. For poles up to 2.40m long, we line up to the stringlines and then lean the poles up against the front of the hole and as we concrete, then hold the pole to the stringlines. For longer poles we line up to the stringlines then place a short piece of timber between the back of the pole and the top of the hole and drive a nail into the pole once lined up and plumb.
On completion of placing concrete the poles are checked for height and lifted if necessary, and also checking the top line as movement can happen during concrete placing.
With the construction of timber retaining walls, in most cases, poles will need to be trimmed to height this is because poles come in increments of 600mm lengths. It is also good practice when placing poles to be above the intended finished height and then a stringline is attached for all to see and be in agreeance of.
It is important when trimming the tops of poles, to apply an Ensele product, which is inexpensive and available from a local DIY store, as the treatment only has gone in so far. I have seen many walls with the tops of the posts being hollowed out due to decay.
We have done walls with larger square posts up to 300mm x 300mm but these obviously have to be produced which can take time.
My preference of wall is 125 x 125 dressed posts using 200 x 50 dressed rails and capping to match. Obviously, the posts need to be taken to a joinery firm to get dressed.
Steel I Beam
These are used for two main reasons:
- Ability for higher retaining
- Aesthetics
Classification of I beam comes as size (depth of beam) and kilograms per metre, for example a 200UB/22 is 200mm deep and 22kg/m. They come in 6.0m, 9.0m 12.0m, 15.0m, and 18.0m lengths.
When organising I beams for a retaining wall, the following needs to happen:
- Exact lengths established as it is not advisable to cut tops
- A hole drilled or gassed in each end flange, for lifting in and out of the galvanising bath, plus also for lifting into and lining up once in the ground
- Galvanising: partial dipping is acceptable as long as a minimum of 500mm is into the concrete encasement. Partial dipping costs are normally 60% of the beam weight, however, this depends on your local galvanising firm, as some don’t do it
A similar size I beam versus a timber pole
The I beam can take a higher retaining and also still looks appealing, whereby for example, a 450 SED pole at 4.0m high can look quite bulky. Once the beams are concreted in – say, immediately after the first concrete truck – it is important to lift them to the required height and carry out any ‘tweaking’ for alignment and plumb. There are times when the beam will not stay up, e.g., when using pumping concrete and a heavier beam. In this case, it is best to G clamp a timber across the flange of the beam.
Railing an I beam wall
The rails are generally placed behind the front flange. Prior to this happening, a waterproof membrane such as Butathene is attached to the steel to stop the reaction between galvanised steel and tanalised timber. We have all seen what happens to gate gudgeons over time.
As it is not possible to attach the railing to the beam, it is imperative to have a strut/packer between the concrete and underside of the bottom rail to stop any vertical movement, plus must also be securely wedged between the two flanges.
Cast-In-Situ Concrete Piles
These are generally used for high walls with a high surcharge. The strength of the piles can be increased by the size of the reinforcing cage and diameter of the pile. When placing the reinforcing cage, plastic spacers need to be attached to maintain spacing in the hole.
For the above ground work, the formwork can be either cardboard formatube or metal fluming which can be easily removed.
Precast Concrete Piles
These are not so common due to the weight of the piles; however, we have used them. This was when they were precast – a recess was formed into the edges for precast waling to slip into. It also required our 30T excavator to lift the precast piles into the holes.
When cast-in-situ and precast piles are use, no lean back is required.


How to: Cantilever Retaining Walls
Article provided by Nick Liefting ![]()
Nick Liefting Contractors Ltd
nlcontractors.co.nz
Published in the Training & Events Feature in WIRED Issue 67 / December 2022 by Fencing Contractors NZ
Follow us on Facebook
© Fencing Contractors Association NZ (FCANZ)
Read the other articles here: