Fencing work has always demanded physical strength, grit, and good judgment – but as the industry evolves, so too must our approach to health and safety.
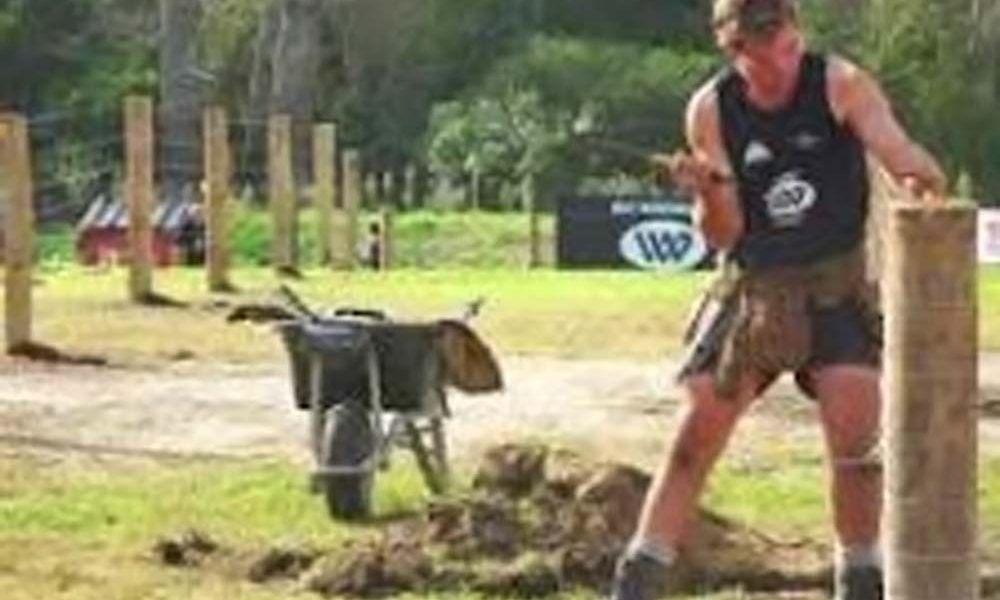
One of the most significant (and often underestimated) risks in fencing is manual handling – lifting, carrying, and positioning heavy materials, tools, and posts. Coupled with this is the ever-present hazard of slips, trips, and falls, especially when working on uneven terrain, muddy paddocks, or in wet weather conditions.
A single strain or awkward lift might not seem like much in the moment, but over time, those repetitive, high-force tasks can lead to serious musculoskeletal injuries. For those working long hours in rugged paddocks, the combination of heavy strainers, treated timber, uneven ground, and unpredictable weather only adds to the challenge. Even experienced fencers are at risk of losing footing when carrying heavy loads or navigating soft, soggy soil – making awareness and footwear critical.
The weight of the job
Consider this: some strainers can weigh up to 82 kilograms — and that’s before factoring in awkward shapes, muddy conditions, or limited access for machinery. When you’re also dealing with tanalised posts and rails, there’s the added hazard of chemical exposure from treated timber. Gloves, long sleeves, and good hygiene practices (washing hands and arms before eating or drinking) are essential to reduce skin contact and contamination.
Even with years of experience, fatigue and time pressure can lead to shortcuts – like lifting without help, twisting while carrying gear, or moving quickly over uneven ground. These habits are often the root cause of back, shoulder, and knee injuries – and, combined with slips and trips, can result in serious injuries that take workers off the tools for weeks
or longer.
Thinking smarter, not harder
The fencing sector has a reputation for problem-solving on the fly — and that same ingenuity is driving innovation in safety. Across farms and contracting crews, there’s a growing focus on designing tools and systems that minimise manual handling and reduce slip hazards without compromising productivity.
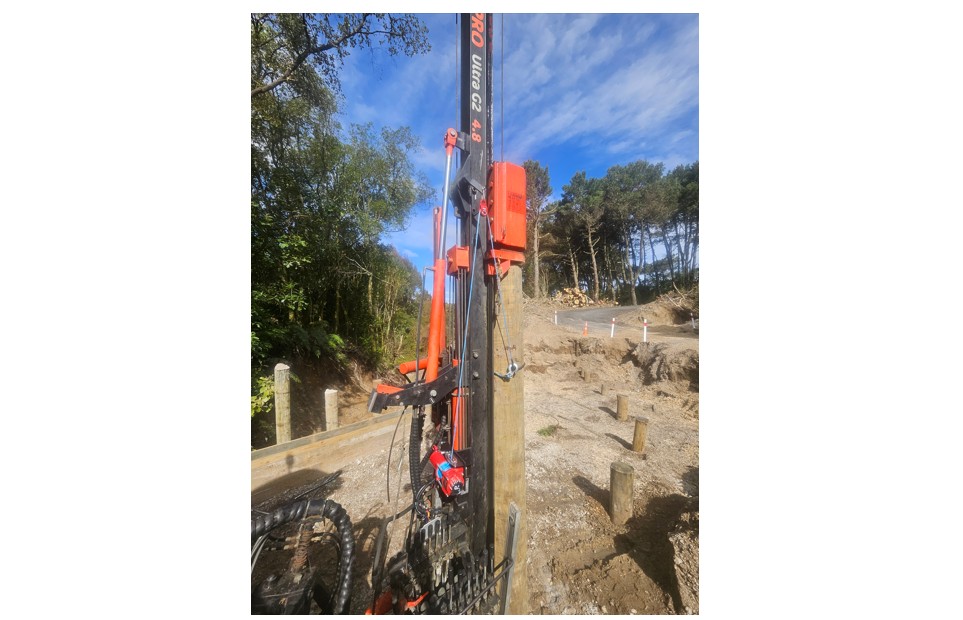
A great example is the modification recently made to the post rammer. Adding a small ATV electric winch bolted to the lower mast and connecting electric wire to the tractor with an Anderson plug.
The winch rope runs up to the hinge in the main beam and out to the post for lifting from the ground. This small but clever improvement reduced the need for two-person lifts, cut down on fatigue, and made handling safer — especially on slippery or uneven ground.
Other crews are exploring:
- Mechanical lifting aids for strainers and rolls of wire.
- Custom trolleys or carriers to transport heavy loads across rough terrain.
- Training refreshers on safe lifting techniques, team lifts, and safe footing.
- Job rotation, so the same person isn’t carrying the physical burden all day.
How Rural Safe can help
Rural Safe works alongside fencing teams, contractors, and landowners to identify practical risks associated with manual handling and slips, trips, and falls — and to find real, workable solutions. Through on-farm safety assessments, manual handling workshops, and hazard management reviews, Rural Safe helps businesses pinpoint where the biggest strains and fall risks occur and supports them to introduce controls that fit the work environment.
Rural Safe can also assist in developing or reviewing standard operating procedures, safe work method statements, and training plans that cover hazardous substances, lifting techniques, footing, and equipment use.
Culture change on the fenceline
Improving safety in fencing isn’t just about compliance — it’s about longevity. Fencers are tough, but bodies wear out faster than we think. Encouraging a ‘lift smart, step smart’ mindset, investing in innovation, and recognising when a job
needs a different approach are all part of ensuring crews can work well for years to come.
Manual handling injuries, slips, trips, and falls remain some of the most common causes of lost time in agricultural and rural contracting sectors. By combining practical controls, the right gear, smarter tools, and support from Rural Safe, we can keep both productivity and people strong.
Because in fencing — safety isn’t just about surviving the job, it’s about sustaining the craft.
Submitted by

Published in WIRED issue 79/December 2025 by Fencing Contractors Association NZ
You may also like: Tool safety on the fence line – meeting WorkSafe NZ requirements
Read WIRED online
Follow us on Facebook
© Fencing Contractors Association NZ (FCANZ)